
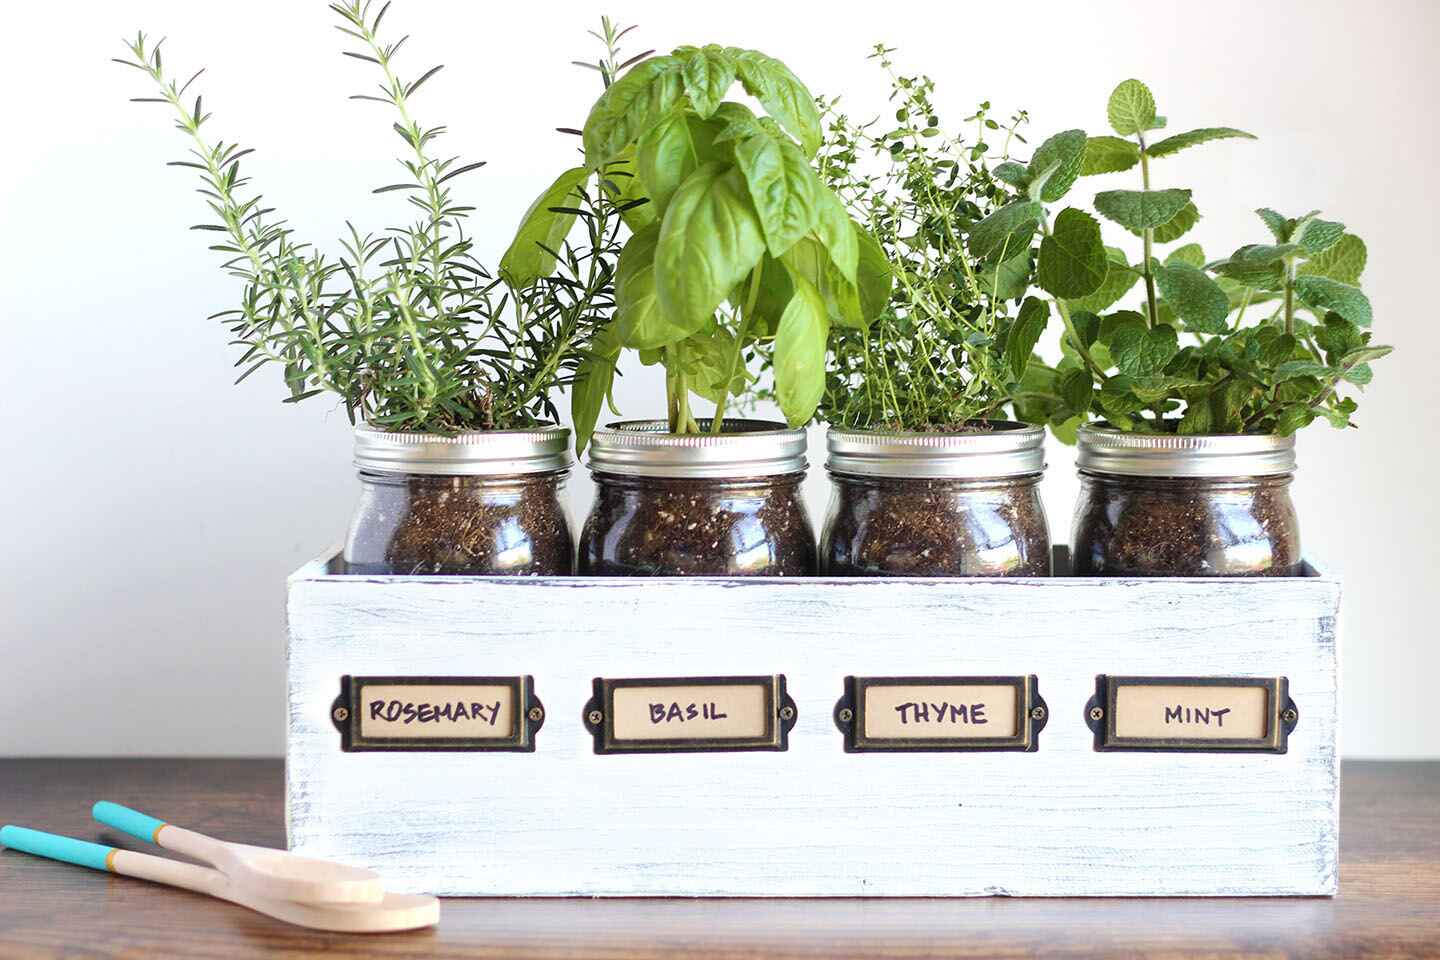
Growing herbs in mason jars is not just convenient; it’s a creative, budget-friendly way to bring greenery into your home. These jars are small enough to fit on a windowsill and stylish enough to be part of your decor. Imagine reaching for fresh basil or mint to liven up a dish—or simply enjoying the look and scent of your mini garden!
In this guide, we’ll walk you through everything you need to start your own mason jar herb garden. From picking the best herbs to simple steps for planting and caring for them, we’ve got you covered. By the end, you’ll have a beautiful, sustainable setup that’s as easy on the eyes as it is helpful in the kitchen. Let’s get growing!
Which herbs can I grow in a Mason Jar?
So, you’re ready to start your mason jar herb garden—but where do you start? The herbs you choose can make all the difference! Some herbs thrive in small spaces, while others need a bit more room to stretch their roots.
Here’s a shortlist of herbs that grow beautifully in mason jars:
- Basil: Easy to grow and a favorite for fresh pesto or pizza!
- Cilantro: Great for adding a pop of flavor to dishes and is happy in moderate sunlight.
- Chives: Low-maintenance and perfect for sprinkling on soups or salads.
- Thyme: A hardy herb that loves a sunny windowsill and adds an earthy touch to meals.
- Parsley: Great for cooking and freshening up dishes; it grows well indoors.
- Mint: It’s incredibly versatile and will fill your room with a refreshing scent!
What Makes These Herbs Special?
Each of these herbs grows well indoors and doesn’t need a lot of space. They also do well with moderate watering, which is ideal for mason jars. Choosing the right herbs sets you up for success—you’ll have fresh ingredients on hand for cooking, teas, and more!
A Quick Tip: If you’re unsure about light conditions, herbs like mint and chives are more forgiving if your space isn’t super sunny. But for sun-lovers like basil and thyme, find a bright spot, or consider a small grow light.
Picking the right herbs means less worry and more enjoyment as you watch your little garden grow! Ready to start? Let’s dig into the next steps.
Materials Needed for indoor Mason Jar Herb Garden
Before you dive into planting, let’s gather the essentials for your mason jar herb garden. Don’t worry; you won’t need a ton of fancy tools. Just a few simple items, and you’ll be on your way to growing your own delicious herbs!
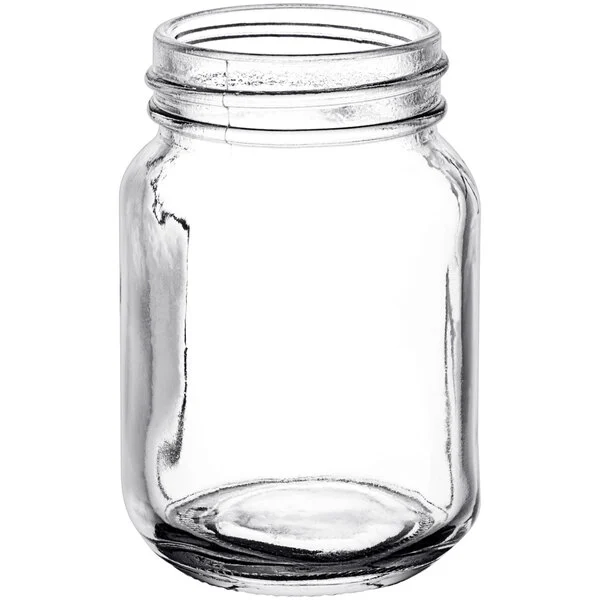
1. Mason Jars
First up, you’ll need your star players: mason jars! Quart-sized jars work best because they give your herbs enough space to grow. Plus, they look adorable on your windowsill!
2. Potting Soil
Next, grab some high-quality potting soil. Look for a mix that drains well—your herbs will love it! Organic soil is a great choice, as it’s packed with nutrients that help your plants thrive.
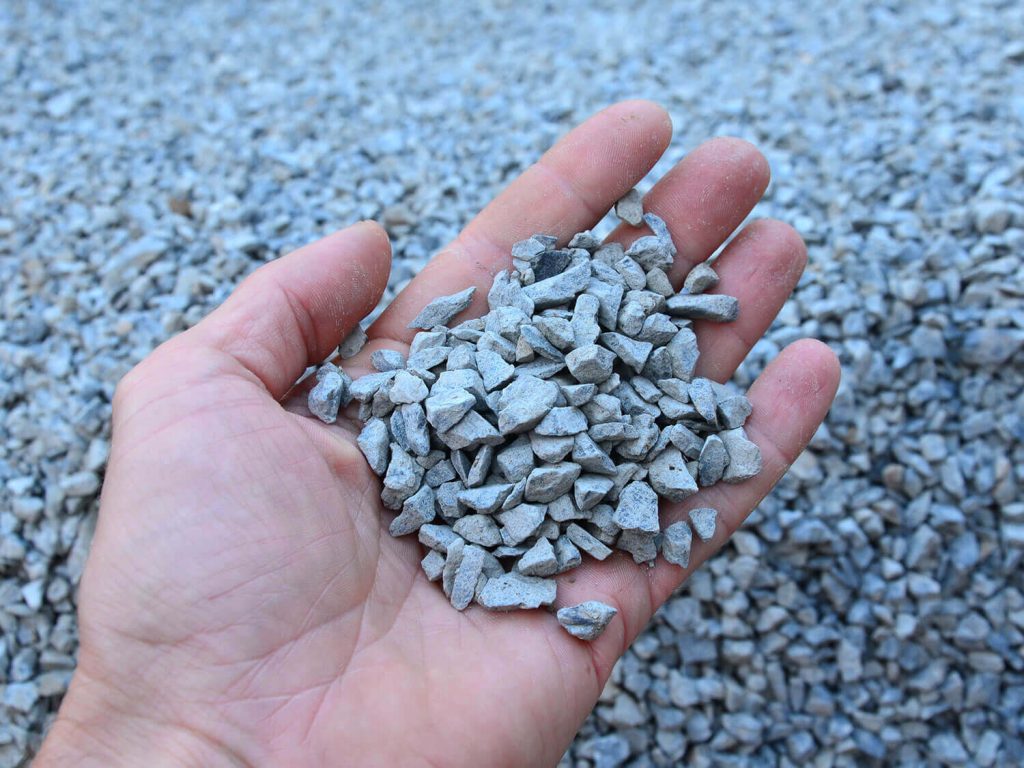
3. Gravel or Small Stones
You might be surprised, but a little drainage goes a long way! Add a layer of gravel or small stones at the bottom of your jars. This keeps excess water away from your herb roots, preventing soggy soil.
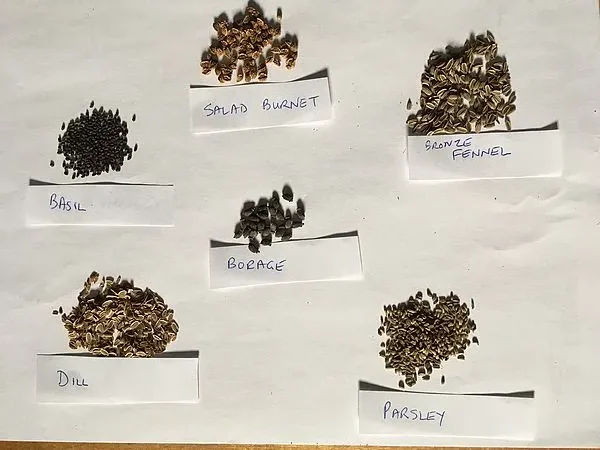
4. Herb Seeds or Seedlings
Now for the fun part! Choose your herbs. You can start from seeds or buy small seedlings from a garden center. If you’re new to gardening, starting with seedlings is a breeze.
5. Optional Supplies
Want to add a personal touch? Consider labels, twine, or even some small pebbles for decoration. These little extras can make your garden even more charming!
Gathering these materials is the first step to creating your indoor herb haven. With everything ready, you’ll be one step closer to enjoying the fresh flavors of homegrown herbs. Let’s get planting! 🌱✨
Preparing the Mason Jars: Get Ready to Grow!
Now that you have all your materials, it’s time to prepare your mason jars for planting! This step is super simple and sets the foundation for healthy, happy herbs. Let’s get started!
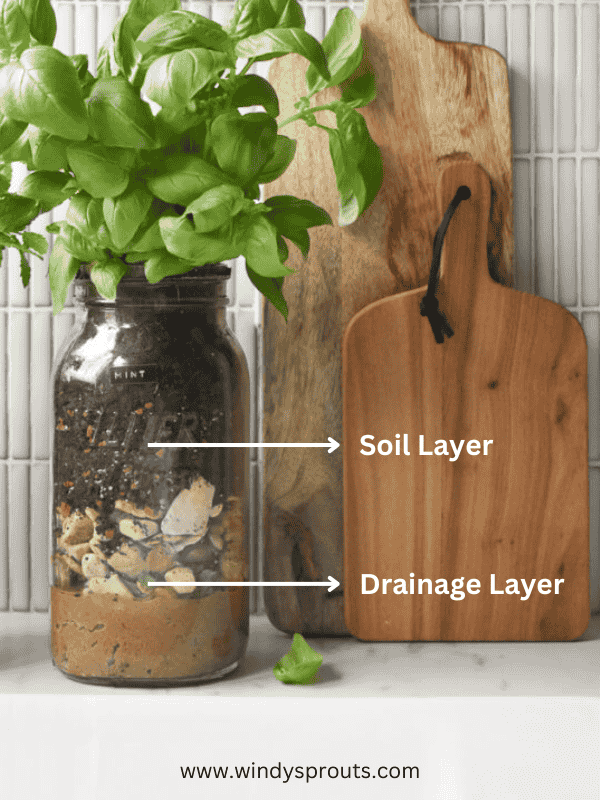
Step 1: Add a Drainage Layer
First things first—let’s make sure your herbs don’t drown! Pour a layer of gravel or small stones into the bottom of each jar. Aim for about 1 to 2 inches. This layer helps excess water drain away, keeping your roots nice and dry.
Step 2: Fill with Soil
Next, it’s time for the potting soil! Gently fill your jars with the potting mix, leaving about an inch of space at the top. This gives your herbs room to grow and prevents soil from spilling over when you water them.
Step 3: Planting Seeds or Seedlings
Now, for the fun part! If you’re planting seeds, check the packet for instructions on how deep to plant them. Usually, a quarter-inch is just right. If you’re using seedlings, carefully remove them from their containers and place them in the soil. Make sure they’re nestled in nicely, and give them a little pat to secure them in place.
And voilà! Your jars are now ready for the next stage. With just a few simple steps, you’ve set the stage for your herbs to thrive. Keep an eye on them as they settle in, and get excited—your indoor herb garden is just getting started! 🌿✨
Positioning and Light Requirements: Finding the Perfect Spot!
You’ve planted your herbs, and now it’s time to give them the best home! The right light is key to helping your indoor herb garden flourish. Here’s how to find that perfect spot:
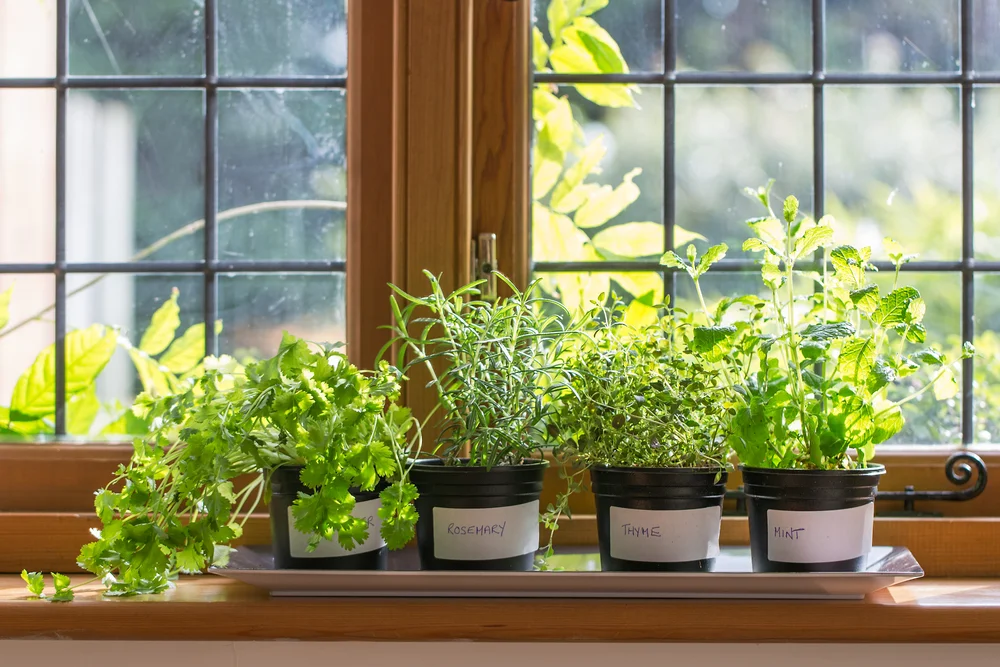
1. Seek Natural Light
Look for a sunny windowsill that gets 6 to 8 hours of sunlight each day. South-facing windows are often the best, but east or west-facing ones work too. Your herbs will soak up the sun and grow strong!
2. Consider Grow Lights
If your space doesn’t get enough natural light, don’t worry! You can use small grow lights to give your herbs the brightness they need. Just place them a few inches above the jars and keep them on for about 12 to 16 hours a day.
3. Rotate Your Jars
To ensure even growth, remember to rotate your jars every few days. This way, all sides of your herbs will get a chance to bask in the light.
With the right positioning and light, your herbs will thrive and provide fresh flavors for your cooking. Find that sunny spot, and watch your little garden come to life!
Watering Tips: Keep Your Herbs Happy and Hydrated!
Watering your herbs properly is crucial to their success. Too much or too little water can lead to unhappy plants. Here’s how to find the perfect balance!
1. Check the Soil
Before watering, always check the soil. Stick your finger about an inch into the soil. If it feels dry, it’s time for a drink! If it’s still moist, wait a day or two before checking again.
2. Water Gently
When it’s time to water, do it gently. Pour just enough water to moisten the soil without flooding it. Remember, your mason jars don’t have drainage holes, so avoid overdoing it!
3. Look for Signs
Watch your herbs for signs of too much or too little water. Yellowing leaves can mean overwatering, while droopy leaves might signal they need more water. Adjust your watering routine as needed!
By keeping an eye on your herbs and watering mindfully, you’ll help them grow strong and healthy. With the right care, your indoor herb garden will flourish!
Maintaining Your Mason Jar Herb Garden: Tips for Thriving Greens!
Congratulations on starting your mason jar herb garden! Now, let’s talk about how to keep it healthy and thriving. With a little care, your herbs will flourish and provide fresh flavors for your meals.
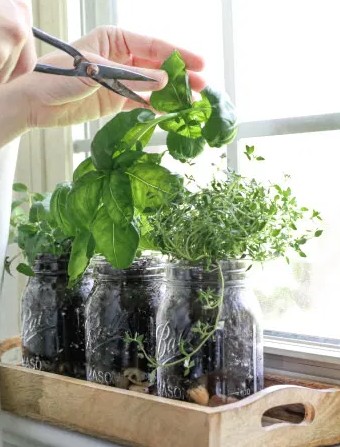
1. Prune and Harvest
Regularly snip off the top leaves of your herbs to encourage bushier growth. When you harvest, take just a few leaves at a time so the plant can continue to thrive. This way, you’ll have fresh herbs to enjoy without harming the plant!
2. Keep an Eye on Pests
Check your herbs for any unwanted guests like aphids or spider mites. If you spot any pests, use a gentle spray of water to wash them off. You can also dab a little neem oil on the affected areas for a natural solution.
3. Fertilize Lightly
Your herbs might benefit from a little extra boost! Use a diluted liquid fertilizer every few weeks, especially during the growing season. Just remember—less is more! Too much fertilizer can harm your plants.
By following these simple maintenance tips, you’ll keep your mason jar herb garden looking vibrant and healthy. With regular care, you’ll enjoy a lush supply of fresh herbs right at your fingertips!
Common Problems and Troubleshooting: Keep Your Herbs Happy!
Even the best gardeners face challenges sometimes! If your herbs aren’t looking their best, don’t worry. Here are some common issues you might encounter and how to fix them.
1. Yellowing Leaves
If your leaves are turning yellow, it could be a sign of overwatering. Check the soil moisture. If it’s soggy, let it dry out before watering again. On the flip side, yellowing can also mean your herbs need more nutrients. If that’s the case, consider giving them a light fertilizer boost!
2. Leggy Growth
Leggy herbs are a sign they aren’t getting enough light. If your plants are stretching towards the window and looking thin, move them to a brighter spot or add a grow light. They’ll perk up in no time!
3. Mold and Mildew
Too much moisture can lead to mold on the soil surface. If you spot it, don’t panic! Remove the moldy layer and let the soil dry out a bit. Make sure you’re not overwatering and that there’s good airflow around your jars.
4. Droopy Leaves
Droopy leaves can mean your herbs are thirsty. Check the soil moisture and give them a drink if it feels dry. If they don’t perk up after watering, they might be stressed from too much sunlight or heat, so consider moving them to a cooler spot.
By keeping an eye out for these common issues and taking quick action, you’ll keep your indoor herb garden healthy and flourishing. Remember, a little care goes a long way, and soon you’ll be enjoying a bounty of fresh herbs!
Decorating Your Mason Jar Herb Garden: Make It a Stylish Showcase!
Your mason jar herb garden can be as beautiful as it is practical! Let’s add some flair to your setup with a few fun decorating ideas. With a little creativity, your herbs will not only taste great but also look fantastic!
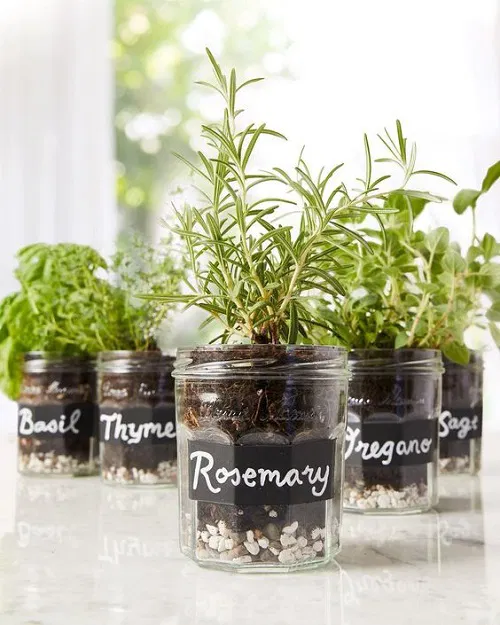
1. Label Your Jars
Get creative with labels! Use chalkboard stickers, washi tape, or pretty tags to mark which herbs you have. This adds a personal touch and helps you quickly identify your plants. Plus, it looks super cute!
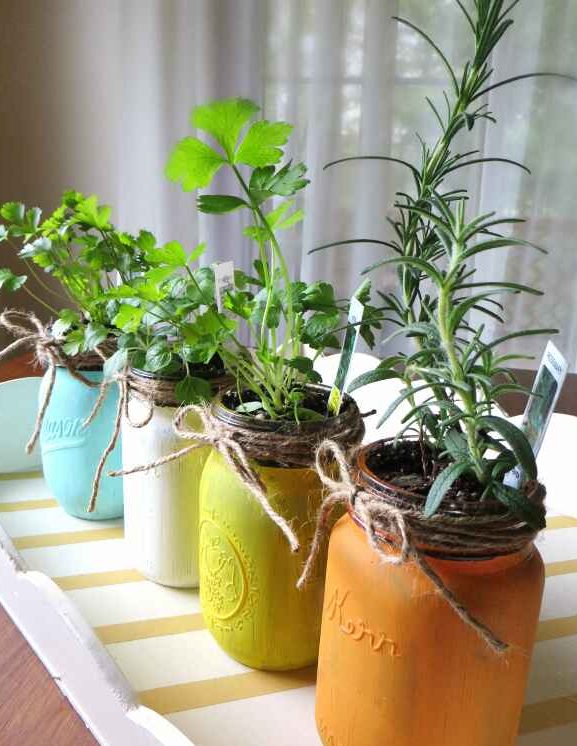
2. Add Some Color
Paint your mason jars in vibrant colors or patterns. You can use glass paint or spray paint to match your home decor. This will make your jars pop and turn them into a stylish centerpiece.
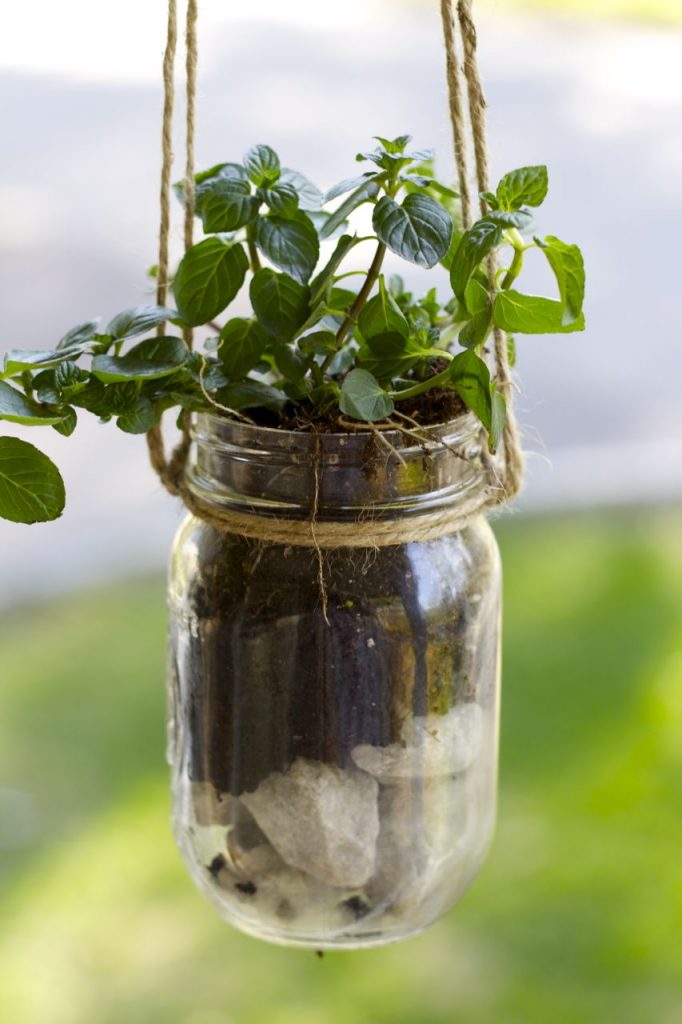
3. Create a Vertical Garden
Want to save space? Try a vertical garden! Use a wooden pallet or a hanging organizer to mount your jars on the wall. This not only looks amazing but also maximizes your growing area.
4. Use Decorative Pebbles
Top off your jars with decorative pebbles or stones. This not only looks attractive but also helps retain moisture in the soil. Choose colors that complement your jars for a cohesive look.
5. Make It a Display
Arrange your jars on a decorative tray or a tiered stand. This turns your herb garden into a stunning display that you can show off in your kitchen or dining area.
With these simple decorating tips, you can transform your mason jar herb garden into a beautiful and functional part of your home. Enjoy the fresh herbs and the charm they bring to your space!
Congratulations! You’re now equipped with everything you need to create and maintain your very own mason jar indoor herb garden. How exciting is that? Growing herbs indoors not only brings fresh flavors to your meals but also adds a touch of green to your space.
Remember, gardening is a journey. Don’t be afraid to experiment and learn along the way. If one herb doesn’t thrive, try another! Enjoy the process, and soon enough, you’ll find joy in snipping fresh basil for your pasta or adding mint to your favorite drink.
As you watch your herbs grow, take a moment to appreciate the beauty of nature right in your home. Share your herb garden with friends and family, and let them enjoy the benefits of fresh ingredients, too.
So, grab your mason jars, get planting, and embark on this green adventure. Happy gardening!